Like any natural geek, I want to access my LAN remotely. If I can't access the hundreds of gigs of pictures of my dog from any device, then this is not a world I want to live in.
Without upgrading to the Starlink Business plan which provides a public IPv4, Starlink uses a CGNAT to share the same IP for a large block of customers. There are consequences to this, such as routinely getting more CAPTCHAs and having your IP blacklisted from some websites (not sure if all Starlink customers are criminals but that's besides the point). The other downside is a home server setup, without resorting to IPv6, and incoming connections to your server.
As a usable workaround, I've been using frp - fast reverse proxy - and Wiregaurd with success on my home FreeBSD (Dell R520) server. frp establishes an outbound UDP connection from your CGNAT’ed home to the VPS, which stays open. This lets the VPS forward packets to your WireGuard server as if it were on a public IP.
I use a Seattle-based VPS with a low amount of hops for all my tunnelling needs and the speed and latency (considering Starlink is literally satellite internet) is acceptable. So what we get is no open ports at home and remote access to our LAN
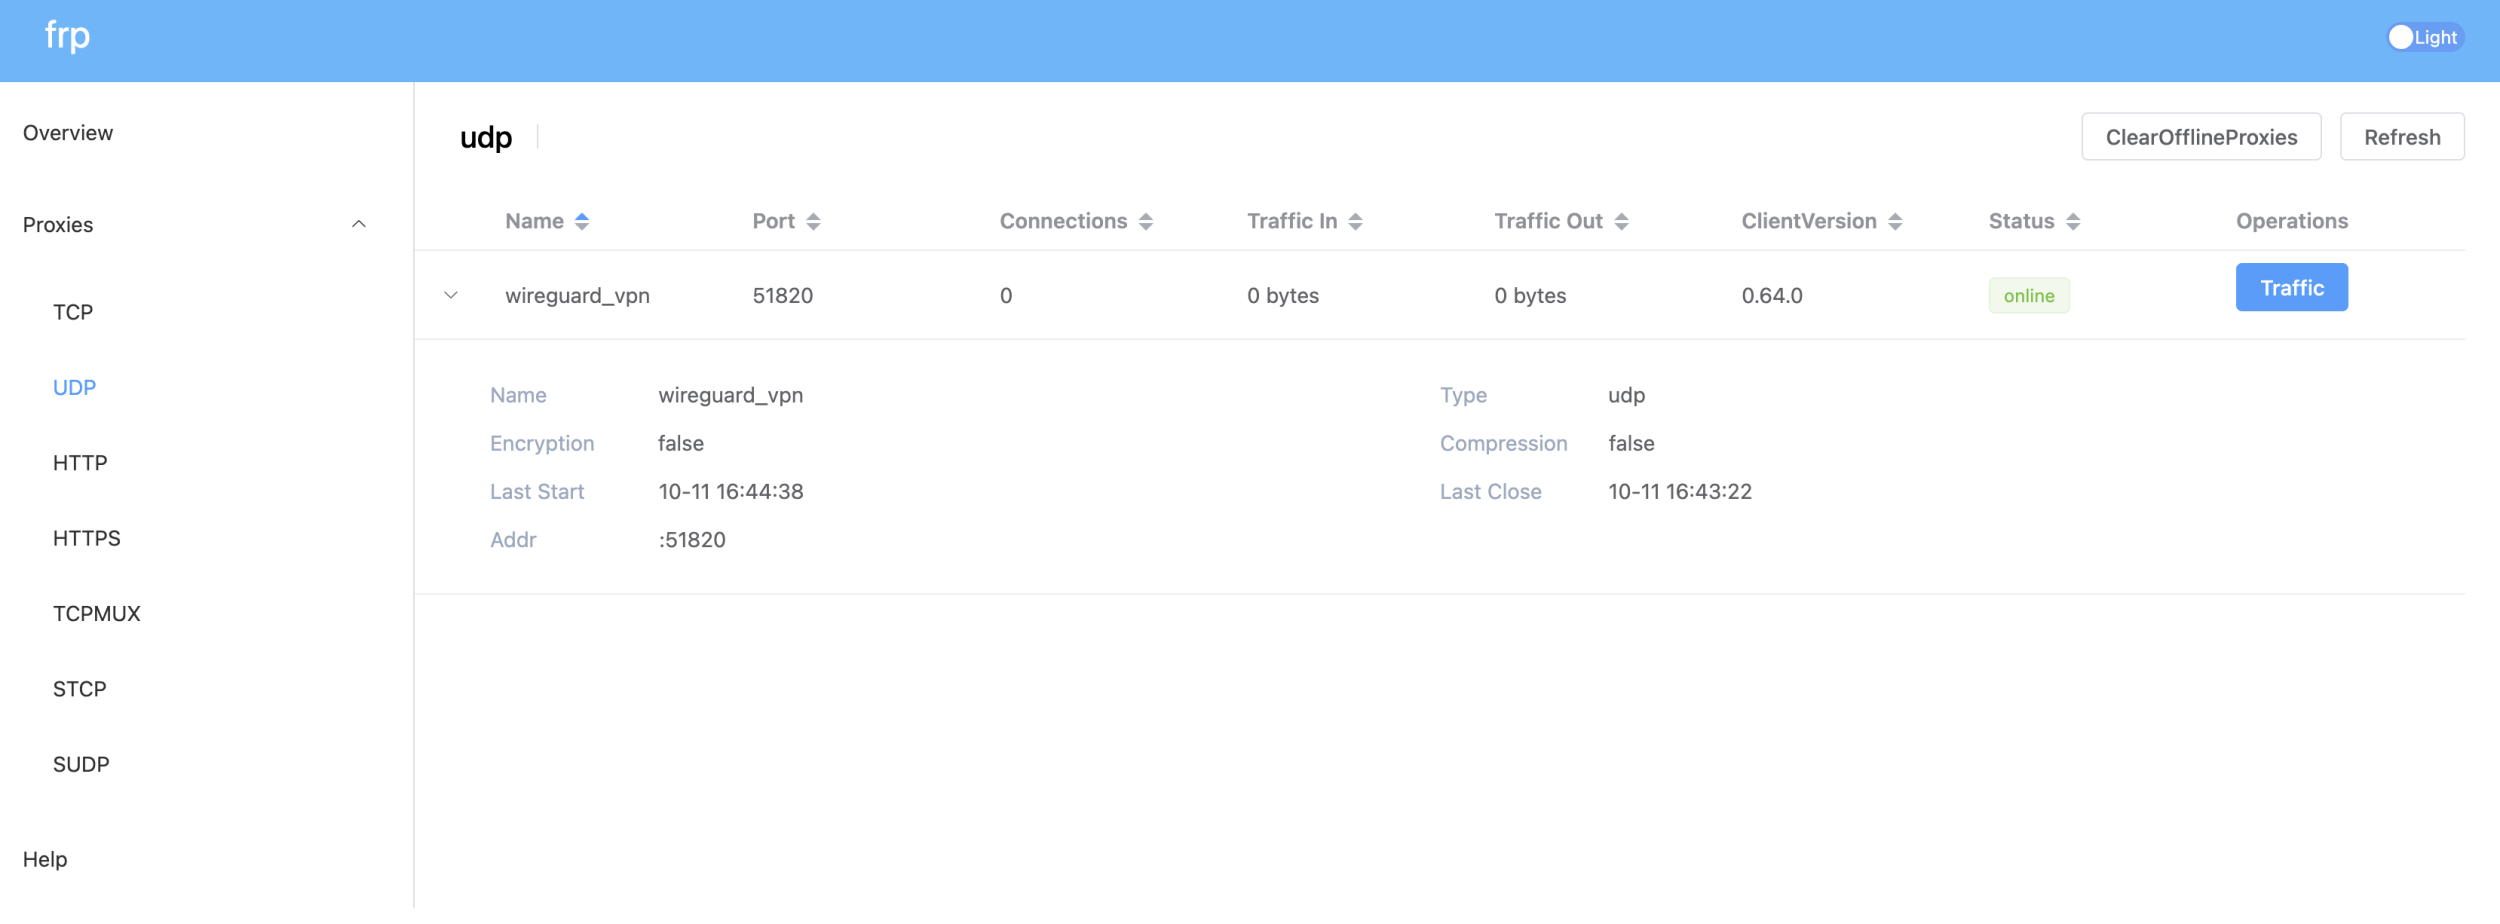
frps (server) has a nice view-only admin UI for an overview of your connected proxies, nevermind keeping tabs on what ports you expose to the internet.
With frps setup on my VPS, getting up and running on FreeBSD is straight forward. There's FreeBSD binaries available too.
fetch https://github.com/fatedier/frp/releases/download/v0.64.0/frp_0.64.0_freebsd_amd64.tar.gz
tar -xzf frp_0.64.0_freebsd_amd64.tar.gz
The setup of frp follows the same configs in the README (very thorough) with an added section for Wiregaurd:
serverAddr = "<VPS IP>"
serverPort = 7000

auth.method = "token"
auth.token = "<your super secret token>"
auth.additionalScopes = ["NewWorkConns", "HeartBeats"]

transport.protocol = "kcp"
transport.tcpMux = true

[[proxies]]
name = "wireguard_vpn"
type = "udp"
localIP = "127.0.0.1"
localPort = 51820
remotePort = 51820
and start with:./frpc -c frpc.toml
Home server setup
Now I used to run a Wireguard server on the same VPS, which in that case you would change the remote port you'd use.
Back to FreeBSD, the Wiregaurd tunnel setup seems a lot easier now than it was 10 years ago when I was setting up OpenVPN servers with utter frustration. Nevermind since choosing FreeBSD as the OS for my home server has been one of the best decisions I've made in recent years. Anyway.
doas pkg install wiregaurd-tools
Enable at boot:
sudo sysrc wireguard_enable=YES
sudo sysrc wireguard_interfaces="wg0"
Now lets generate keys
Create the directory if it doesn't exist:
mkdir -p /usr/local/etc/wireguard
cd /usr/local/etc/wireguard
wg genkey | tee server_private.key | wg pubkey > server_public.key
From this we get server_private.key which is used in the [Interface] of the Wiregaurd config server, and the server_public.key which is used in our [roaming] client configs.
Client keys
Before we create our Wiregaurd server config, we'll generate private and public keys for our client (my Macbook Air in this case).
mkdir -p ~/wireguard
cd ~/wireguard
wg genkey | tee mba_laptop_private.key | wg pubkey > mba_laptop_public.key
If you don't have wg, you can install via Homebrew:
brew install wireguard-tools
Wiregaurd [server] config:
Back to our server config, we can add our private and public keys that will be used:
doas nano /usr/local/etc/wireguard/wg0.conf

[Interface]
PrivateKey = <freebsd_private_key>
Address = 10.0.0.1/24
ListenPort = 51820

[Peer]
PublicKey = <laptop_public_key>
AllowedIPs = 10.0.0.2/32
And [re]starting the Wiregaurd server with:
doas service wiregaurd restart
Client config
For our client (laptop) config, we use the private key we generated and the server's public key.
[Interface]
PrivateKey = <contents of laptop_private.key>
Address = 10.0.0.2/32
DNS = 1.1.1.1
[Peer]
PublicKey = <contents of server_public.key>
AllowedIPs = 0.0.0.0/0
Endpoint = <VPS_IP>:51820
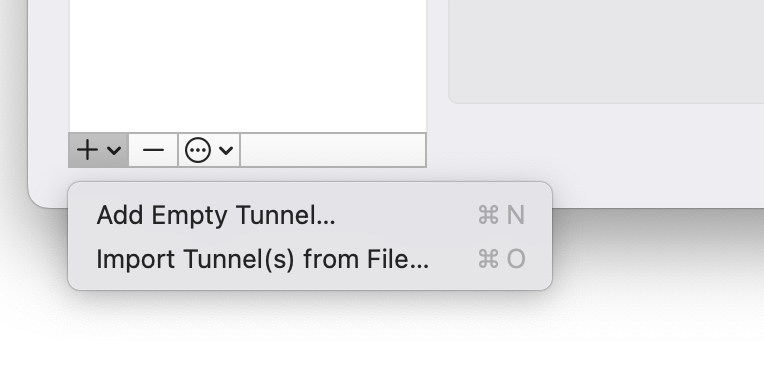
PersistentKeepalive = 25Save to an accessible place, like ~/wiregaurd , then in the GUI you can import the tunnel.
This post jumps around a bit, but from the client sides its relatively easy thankfully. I haven't had much use for a tunnelling VPN relatively, other than travelling internationally, but in those cases I would use one of my USA VPSs. And connecting back to my home network wasn't a priority, but unfortunately my Wyze wifi cameras like to go offline as soon as I leave for a trip. Restarting the wifi access point fixes it, but turns out setting the 2.4Ghz radio to a set channel (instead of auto) also resolved the issue.